
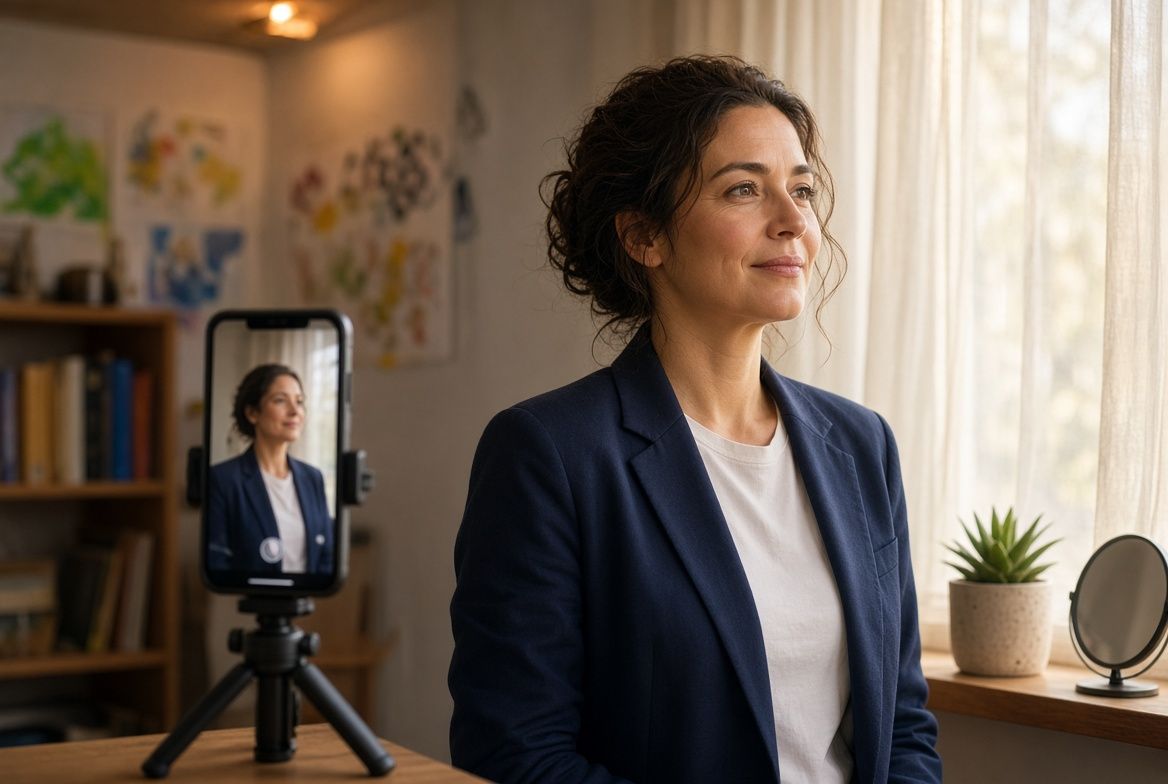
Your LinkedIn profile photo is the first visual impression you make on recruiters. Good news: you don't need a studio or a photographer to get a professional-quality headshot. A modern phone camera and 20 minutes are enough.
Why your headshot matters more than you think
LinkedIn profiles with photos get 21 times more views than those without, according to LinkedIn's own data. Recruiters form impressions fast, and your face is part of that snap judgment. You don't need to look like a model. You need to look like a professional who takes their career seriously.
If your current photo is a cropped group shot from a wedding, a vacation selfie, or a five-year-old image from your last corporate headshot day, it's costing you attention. An updated, well-lit headshot signals that you're active and engaged in your professional life.
The equipment you already own
Any phone released in the past three years has a camera capable of a strong headshot. The iPhone 15 and newer, Samsung Galaxy S23 and newer, and Google Pixel 7 and newer all shoot at resolutions that exceed LinkedIn's display requirements. Use the rear camera, not the front-facing selfie lens. The rear lens has better optics, sharper focus, and handles light more accurately.
You'll need something to prop the phone at chest-to-head height. A $15 phone tripod from Amazon works. So does a stack of books on a shelf, a clamp, or a patient friend. The point is stability. Handheld selfies introduce angles and distortions that undermine a professional look.
If your phone has portrait mode, use it. The software-generated background blur (bokeh) mimics what a professional camera with a wide aperture lens produces. It separates you from the background and puts the focus on your face.
Light is everything
The single biggest difference between an amateur photo and a professional one is lighting. Skip your flash entirely. Flash creates harsh, flat lighting with visible shadows. Natural light from a window is better than any artificial setup.
Face a large window during the day, ideally when the sun isn't shining directly through it. Indirect daylight (overcast days, north-facing windows, or a window with sheer curtains) produces soft, even illumination across your face. That's what you want: no hard shadows under your eyes or nose, no bright spots on your forehead.
The best time to shoot is mid-morning or late afternoon when daylight is bright but not harsh. Avoid direct midday sun coming through windows; it creates the same problem as a flash.
If you're shooting outdoors, find open shade. Stand under a tree canopy, beside a building, or anywhere the sun is blocked but the ambient light is still bright. The goal is even, diffused light on your face.
Background and framing
A plain wall works best. White, light gray, soft blue, or warm beige all read as professional. Avoid busy patterns, shelves full of objects, or anything that draws the eye away from your face. If your only option is a cluttered room, portrait mode blur will handle most of it.
Frame the shot from mid-chest up. Leave a little space above your head (you can crop tighter later, but you can't add space back). Your face should fill roughly 60% of the frame. Too far away and you're a small figure in a room. Too close and it feels cramped.
Angle your body slightly (about 15 degrees) rather than facing the camera dead-on. A slight angle is more flattering and less "passport photo." Look directly into the camera lens (not the screen) to create eye contact with the viewer.
What to wear
Wear what you'd wear to an interview for your target role. For corporate environments, a crisp collared shirt or structured blazer. For creative fields, something that reflects your personal style while still looking intentional. Solid colors photograph better than patterns. Jewel tones (navy, emerald, burgundy) tend to work well across skin tones.
Avoid all-white (washes out against light backgrounds), all-black (absorbs light and loses texture), and anything with thin stripes or small patterns (creates a visual "moire" effect on camera). Whatever you choose, make sure it's pressed. Wrinkles are surprisingly visible in photos.
The AI headshot question
AI-generated professional headshots have become popular since 2023. Services like Aragon, Remini, and HeadshotPro use your selfies to generate studio-quality portraits. They're fast and inexpensive (typically $15-40).
The problem: some of them look noticeably artificial. Smoothed skin, perfect symmetry, backgrounds that don't quite feel real. Recruiters increasingly recognize AI headshots, and opinions are mixed. Some don't care. Others view it as slightly dishonest, especially when the generated image looks significantly different from the real person.
If you use an AI tool, choose one that produces realistic results and pick the output that looks closest to your actual appearance. The headshot should represent you, not an idealized version. When in doubt, a well-lit phone photo that actually looks like you will always be the safer choice.
Quick edits that make a difference
Your phone's built-in photo editor is enough. Slightly increase brightness if the image is dark. Add a touch of contrast to make features pop. Adjust warmth if the color looks off (too blue or too yellow). Crop to a square or 4:5 ratio for LinkedIn's profile photo dimensions.
Free apps like Snapseed or Lightroom Mobile offer more precise adjustments if you want to go further. But resist the urge to over-edit. Heavy filters, skin smoothing, or dramatic color grading look unnatural in a professional context. The goal is a clean, well-lit photo that looks like you on a good day.
Take 20 photos in different positions and expressions. Pick the three best. Show them to someone you trust and let them choose. The photo that feels slightly awkward to you often reads as confident to others.